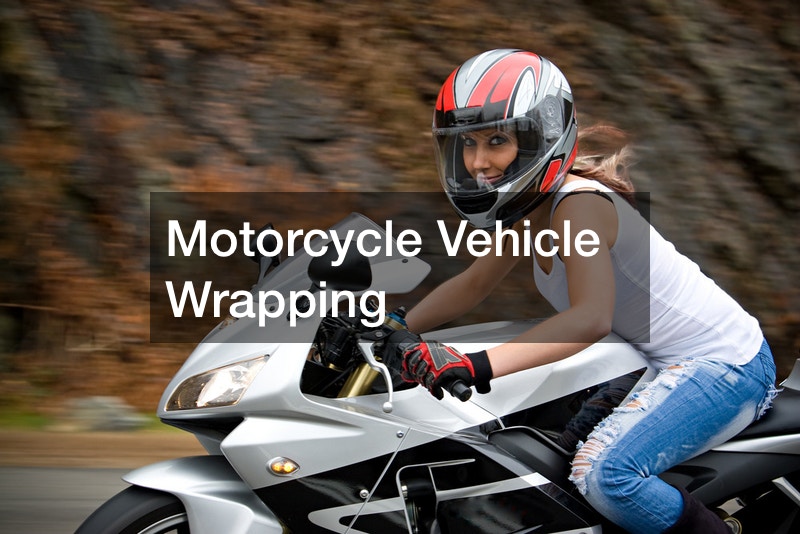

Vinyl wrapping your own vehicle is an easy and cheap way to change the color of your ride, as long as you do it yourself. All you need is a weekend and some patience; vehicle wrapping is very DIY-friendly.
There are hundreds of different brands of vinyl.
You don’t need to use the most expensive but stay away from the cheapest Amazon brands. A few reputable names include 3M (2080 series), Vvivid, and Avery Denison. These higher-quality types of vinyl will be easier to work with and last much longer.
To get started you’ll need to measure the surface area of your bike to find out how much vinyl you need. Add a good bit extra so you have room to work with in case you mess up. You’ll also need a heat gun, a razor blade, a squeegee with a felt tip, isopropyl alcohol, and cutting tape for clean cuts.
Get your bike as clean as possible with hot soapy water; any dirt under the vinyl will prevent it from sticking effectively and will be visible in the end. Then clean each surface with some isopropyl alcohol to remove oils and leftover dust.
Start with the largest panel and cut a much larger piece of vinyl so you have some to work with. Use the heat gun and your hands to stretch and shape the vinyl around the panel, wrapping it and cutting away the excess. Then use the squeegee to remove air and creases, working the vinyl toward the edges. Seal the vinyl to the back of the panel with a centimeter or two of excess.
A motorcycle is a bit easier to wrap because you can remove the panels and you don’t need as much vinyl.
.


